


How to Use 3D Nail Gel for Sculpted Details

A raised bow that keeps its crisp loops, a flower with visible petal separation, or a chrome accent that catches light from every angle starts with one thing: control. Learning how to use 3d nail gel is less about piling product onto the nail and more about managing viscosity, scale, brush pressure, and cure timing. When those details are right, dimensional art reads cleanly in close-up photos and wears like a finished salon service.
What 3D Nail Gel Is Designed to Do
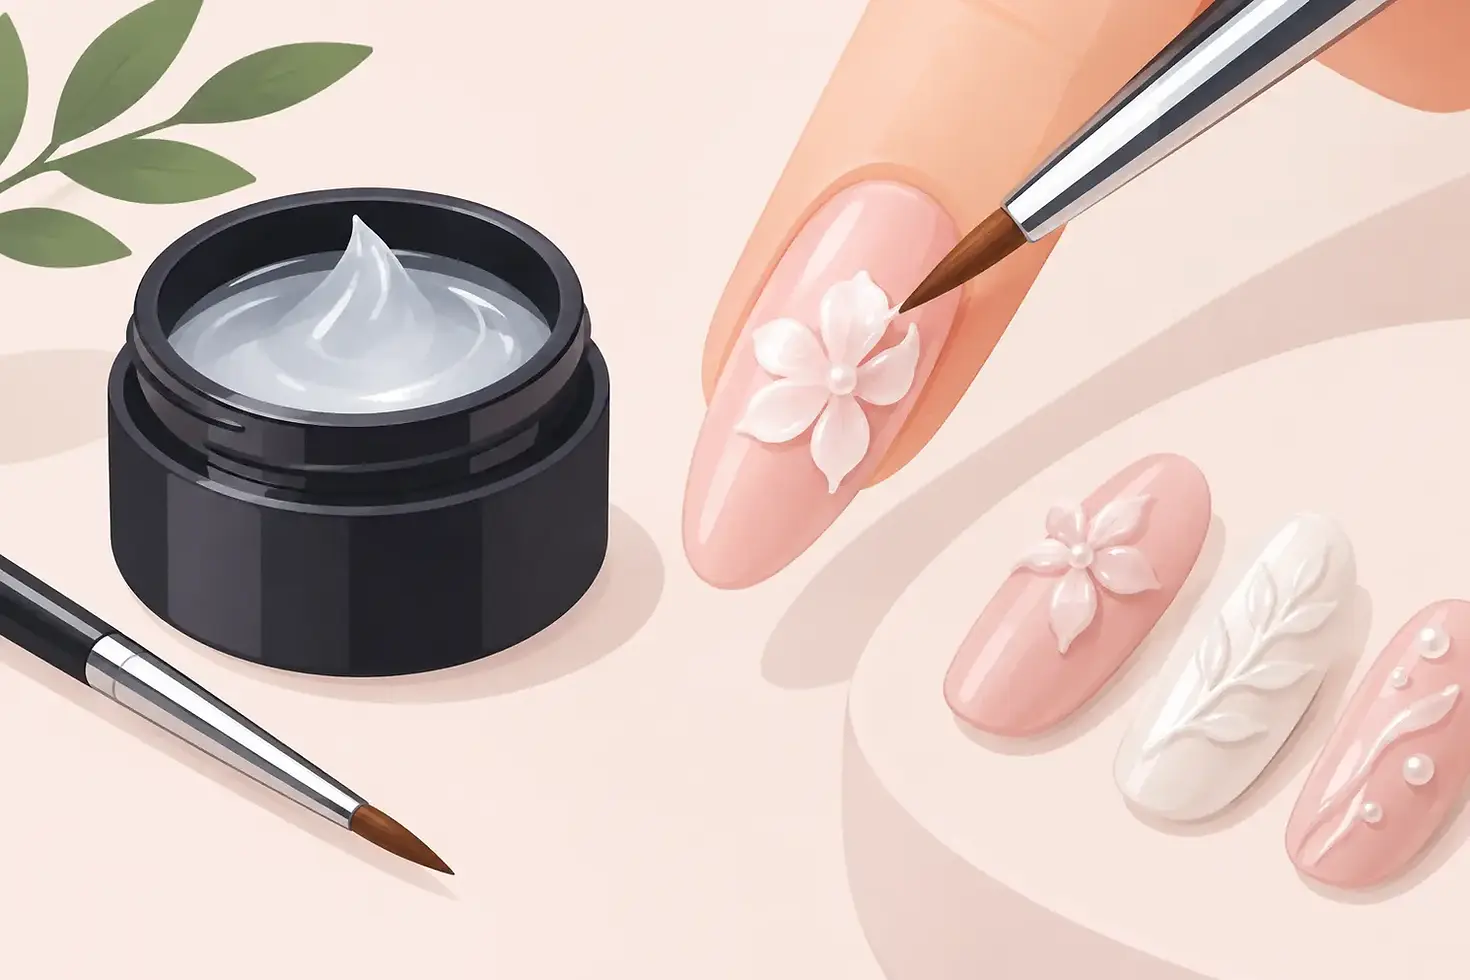
3D nail gel is a dense, highly viscous art gel made for structure rather than flat color application. Unlike painting gel, which is designed to glide into fine lines and coverage, 3D gel holds the shape you place. It is the right material for bows, sculpted flowers, hearts, ribbons, quilted texture, raised outlines, charms, embossed logos, and small character details.
The same thickness that gives 3D gel its control also means it should be used thoughtfully. A thick design can look heavy, catch hair, or cure incompletely if it is applied in one oversized layer. The goal is a deliberate relief effect: enough height to create shadow and dimension, with a base that stays secure and a silhouette that remains wearable.
Your finished result also depends on the surface beneath it. Build a smooth, properly cured gel manicure first. A level color layer, a refined builder gel overlay, or a cured non-wipe top coat creates a stable canvas and makes it easier to see whether your sculpted details are symmetrical.
How to Use 3D Nail Gel Step by Step
Prepare a stable nail-art surface
Complete prep, base application, color, and any structure before beginning the 3D work. Cure each layer according to its system requirements. If you are creating a raised design over a glossy surface, lightly cleanse only if the product instructions call for it. Many artists prefer working over a cured color layer with a controlled amount of grip rather than on a slick, overbuilt top coat.
Plan the composition before picking up gel. On short nails, one centered bow, a tiny floral cluster, or a narrow raised line can look intentional. On longer extensions, you have room for layered petals, draped ribbons, or multiple textures. Keep functional zones clear around the sidewalls and free edge, especially for clients who type, handle tools, or wear gloves all day.
Pick up a small bead, not a large scoop
Use a silicone tool, detail spatula, oval brush, or short sculpting brush based on the shape you are creating. Pick up a small bead of 3D gel and place it exactly where the feature begins. It is easier to add volume than to remove excess without disturbing the design.
For a bow, form the center knot first, then place one bead for each loop. Press and pull the gel outward with the side of your tool instead of dragging the entire bead flat. For petals, place separate small beads around the center and press each one into a tapered teardrop. Leaving a slight gap between petals creates definition after curing.
If the gel starts sticking to your tool, pause rather than forcing the shape. Wipe the tool clean, then use lighter contact and shorter motions. Some artists use a minimal amount of compatible slip liquid on a silicone tool, but too much can affect control and leave the surface less crisp. For dense 3D gels, a clean dry tool is often the most predictable option.
Build height in thin, cured stages
Do not expect one large bead to create a durable sculpted flower. Create the first form, flash cure, then add the next layer of volume. This staged method keeps the design from slumping and gives you more authority over its final profile.
Flash curing is especially useful when working on multiple nails or building complex details. Secure one bow loop, petal, or raised section under a handheld lamp before moving to the next element. Once the complete design is finished, perform a full cure in a lamp that matches the gel system's curing guidance.
Cure time depends on the gel, lamp output, pigment level, and thickness of the design. Opaque or dark 3D colors often need more care than translucent shades. If a structure is unusually thick, split it into smaller components. A shiny outer surface does not guarantee the center has cured thoroughly.
Refine before the final cure
Look at the nail from the front, side, and client-facing angle. This is where uneven loops, a tilted petal, or an overly wide base becomes obvious. Use a fine liner brush to sharpen edges, separate sections, or smooth a transition before curing.
For raised outlines, maintain an even bead from start to finish. Set the gel down and guide it with the brush rather than repeatedly brushing over the same line. Reworking the surface too much can introduce texture that looks accidental rather than embossed.
Designing 3D Details That Wear Well
The most dramatic nail art is not always the most serviceable. A tall pointed design may photograph beautifully, but it can snag on clothing or lift if its base is too narrow. For client sets, favor rounded contours and anchor every raised element with enough contact area against the nail surface.
Placement changes the wear experience. Centered details and designs closer to the cuticle area generally receive less direct impact than embellishments extending over the free edge. If a client wants a fully dimensional set, consider concentrating the sculpted work on two accent nails and using coordinating painting gel art, glitter gel, or cat-eye effects on the others.
Scale matters just as much as placement. A bow should not span the entire width of a short natural nail, and floral petals should not crowd the sidewalls. When in doubt, make the first version slightly smaller. A compact, sharply sculpted element usually looks more luxurious than a large design with softened edges.
Pairing 3D Gel With Chrome and Color Effects
3D nail gel gives chrome powder a completely different visual language. Apply the dimensional pattern, cure it fully, then rub chrome powder over the raised surface when the gel and chrome system are compatible. The result can be a metallic bow, molten-looking raised flame, or embossed silver texture that shifts with movement.
For the cleanest chrome placement, work over a cured, chrome-friendly non-wipe finish where appropriate. Use a small applicator to press powder onto the high points and brush away loose particles before sealing surrounding areas. Whether you top coat over the full design depends on the intended finish. A top coat can improve smoothness and wear, while leaving a fully cured sculpted chrome feature uncovered may preserve a sharper metallic texture. Test the combination before using it across a full client set.
Color layering offers another option. Sculpt a clear or neutral 3D shape over a finished color, then add a small amount of advanced painting gel around the edges to create depth. For flowers, a darker tone at the petal base and a lighter highlight near the tip can make even a tiny design feel dimensional before the texture does the rest.
Common 3D Nail Gel Problems and Their Fixes
When 3D gel spreads or loses definition, the usual cause is too much product, a warm work area, or overworking the bead. Use less gel, work one component at a time, and flash cure sooner. A gel that feels softer in a warm studio may need smaller, more deliberate placements than it does in a cooler environment.
When the design lifts, examine the base. The nail may have had uncured residue, oil contamination, or a glossy layer that was not compatible with the gel system. Lift can also happen when a tall element has a tiny footprint. Rebuild the design with a wider, thinner anchor layer, cure it, and add height afterward.
When a detail feels sharp, use your tool to round it before curing. This is particularly relevant for stars, pointed petals, and raised lettering. If the feature is already cured, lightly refine only if the gel system allows filing, remove dust carefully, and reseal as needed.
When curing seems inconsistent, reduce thickness and verify that the lamp is positioned directly over the nail. Handheld lamps are excellent for flash curing, but they do not always replace the full cure required by the product. Follow the gel's specified curing instructions and keep lamp bulbs, reflective interiors, and battery charge in working condition.
Keep Your 3D Work Precise
A professional 3D gel service is built through repetition, not speed. Practice one shape at a time on a palette or practice tip: five bows, five roses, five raised hearts. Notice how little gel is actually needed to create dimension. Then bring those forms into a coordinated set using the same color story, finish, and level of relief.
Misspinknail's dimensional art approach works best when each material has a clear role: structural 3D gel for height, advanced painting gel for detail, precision brushes for cleanup, and compatible top or chrome finishes for the final effect. Let the design stay intentional, cure each stage with care, and give every raised element a reason to be there.
Comments